首先确认你已经把一下程序下载完毕
mysql-5.0.41-win32、phpMyAdmin-2.11.3、ZendOptimizer-3.3.0a、php-5.2.5-Win32
首先把php的压缩包解压到E盘,例如E:php (也可以是其他盘符,个人喜好而已)
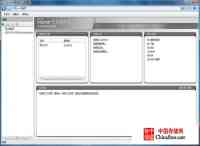
1、IIS 管理器主界面
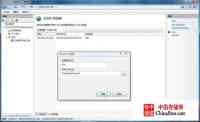
2、配置ISAPI筛选器
打开站点的ISAPI筛选器,添加一个筛选器.
筛选器名称为php,可执行文件路径为F:phpphp5isapi.dll
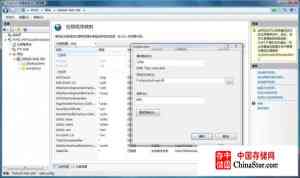
3、配置处理程序映射
添加脚本映射
请求路径为*.php,可执行文件路径为F:phpphp5isapi.dll,名称为php
4、配置应用程序池
添加应用程序池
名称为php, .NET Framework 版本选”无托管代码”,托管通道模式选”经典”

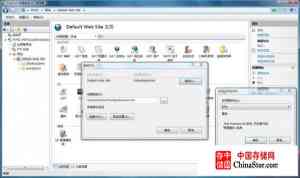
5、更改站点应用池
选择应用程序池为刚刚所建立的php应用池
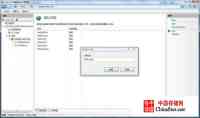
6、添加默认文档
添加名称为index.php的文档
7、配置php.ini
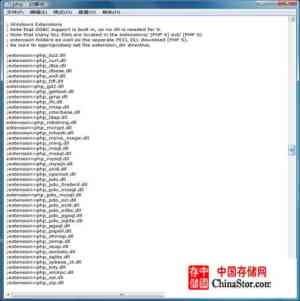
更改F:php目录里的php.ini-dist的名称为php.ini,然后复制到X:Windows目录 (X为你系统所在的盘符)
并把php_gd2.dll,php_mcrypt.dll,php_mysql.dll,php_pdo_mysql.dll前面的引号去掉,这样php才可以支持这些扩展
8、配置extension路径
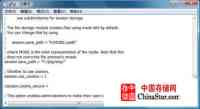
更改extension_dir的路径为F:/php/ext/ (必须以/结尾)

9、配置session.save_path路径
更改session.save_path的路径为F:/php/tmp (此目录需要手动建立)
现在php基本配置完成了,下面开始讲解配置phpmyadmin,先把压缩包里的内容解压到X:inetpubwwwrootphpmyadmin
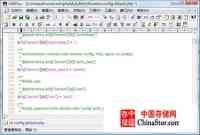
9、配置phpmyadmin的验证方式 修改phpMyAdminlibrariesconfig.default.php文件
把$cfg['Servers'][$i]['auth_type'] = 'config';更改为$cfg['Servers'][$i]['auth_type'] = 'cookie';
10、配置phpmyadmin的加密用的私钥
把$cfg['blowfish_secret'] = '';更改为$cfg['blowfish_secret'] = 'im286';
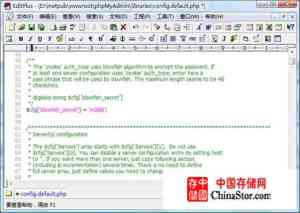
现在已经把phpmyadmin配置完成了
11、安装ZendOptimizer
一路直接Next既可完成安装,安装路径那里可以设置为F:Zend
默认安装完毕以后不不可以直接支持Zend加密,需要做特别的设置 ..下面将讲解如何配置Zend,并让php可以支持
返回桌面,在”我的电脑”上面右键,点击”属性”
然后出现一下窗口,然后点击右边栏的”高级系统设置”
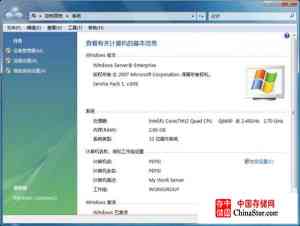
然后再点击下面的”环境变量”

双击打开编辑Path变量窗口,然后在前面添加
F:php;F:phpext;F:Zendlib;F:ZendlibOptimizer-3.3.0php-5.2.x;
然后点击确定完成配置
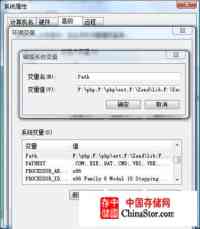
注意:如果你的Zend版本和php版本和我所演示的不同的话,那么上面的路径可能会更改,请时情况修改文件路径
11、安装MySQL
执行安装程序,直接下一步既可.安装路径可以自由选择,默认的也可以.个人喜好而已.
安装完毕以后程序会提示你配置MySQL
1.配置窗口
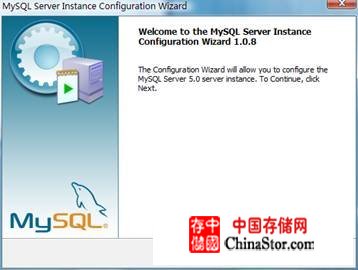
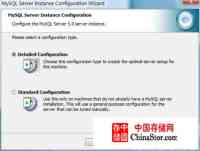
2.询问你使用什么配置,这里可以选择Standard Configuration,也就是标准配置
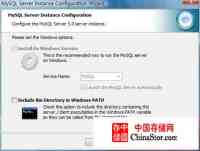
3.安装系统服务,直接Next既可
4.设置root用户密码,直接输入既可 ..第一次设置的时候没有Current root password:这个选项的,因为我是已经安装过的,所以再次设置密码的时候需要确认当前root的密码.而第一次安装却没,这一步可以忽略. ^^

5.应用配置
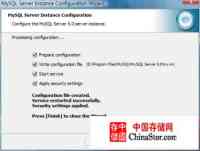
MySQL已经安装完毕
现在全部配置工作已经完成,如果不出意外的话,那么现在您的IIS 7.0就可以支持php,mysql,zend,phpmyadmin了
在你的wwwroot目录新建一个index.php文件,并输入以下内容
<?php
Phpinfo();
?>
退出保存 …
然后打开你的浏览器,打开站点http://127.0.0.1
哈哈,看到没…支持php了 ..
你也可以去下载一个php探针..这个界面更友好一些
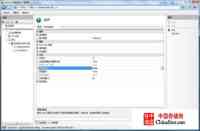
如果你用ASP程序的时候发现程序不能用的话,那么估计就是父路径支持没打开..下图告诉将怎么打开
把默认的False更改为True然后应用更改既可
为Vista/Win2008中的IIS7添加PHP支持
目前很多网站采用PHP编写,但是,其服务器环境可不一定是FreeBSD、Linux,很多PHP的网站都是运行在Windows2000、Windows2003和Windows Server 2008系统上。而且,根据之前诸多的消息显示,Windows Server 2008中运行PHP的效率提高了40%以上的。
下面,就让我进入今天的主题,如何在IIS7下面添加对PHP网页的支持。
系统环境:Vista / Windows Server 2008
一、首先,安装IIS7(控制面板程序和功能、Windows功能),在默认选择的条件下,记得须勾上ISAPI的两个选项。
安装完成后,浏览器中输入http://127.0.0.1,如果不出意外,会出现一个IIS7的欢迎界面。
二、接下来,安装PHP
下载PHP安装包可以到:http://cn.php.net/downloads.php,在此下载windows binaries。在完成PHP安装后,我安装在d:php中,在此目录中,找到php.ini-dist,将其改名为php.ini,打开php.ini:
找到:extension_dir = "./",替换为extension_dir = "d:php";
找到:Windows Extensions :
去掉其下面模块配置下每行的注释符,示例如下:
extension=php_mbstring.dll
extension=php_gd2.dll
extension=php_MySQL.dll
保存。将文件复制到系统的windows目录。
三、在IIS7中新建应用程序池,池的.Net类型设置为非托管。
新建一网站,开启“读取”与“运行脚本”的权限,完成后,为此网站添加ISAPI Filters
接着添加Handler Mapping
在上述过程中,将D:PHPphp5isapi.dll添加到Handler Mapping中
OK,所有操作完成。现在你可以测试一个PHP文件是否能够正常运行。