第一部分 给exchange 2010安装代理
第二部分 创建保护组
第三部分 恢复测试
第一部分 给exchange 2010安装代理
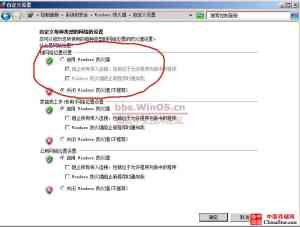
1.在Exchange 服务器上关闭防火墙

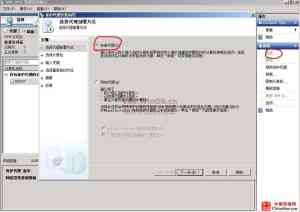
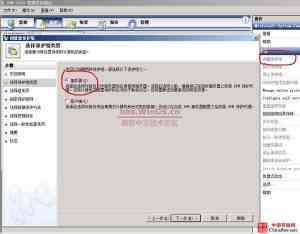
2.打开DPM 2010管理员控制台,选择安装代理
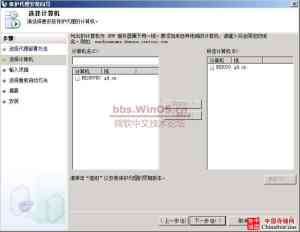
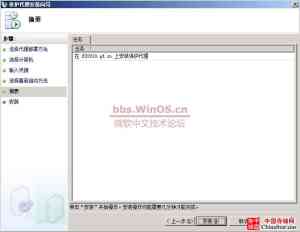
3.添加Exchange 2010服务器
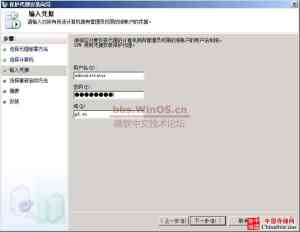
4.输入具有管理员权限的用户名和密码
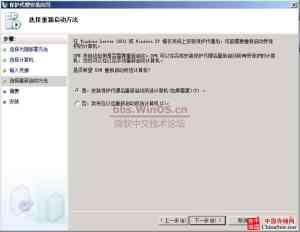
5.选择安装完成后重启Exchange 服务器
6.选择安装,并等待代理安装完成
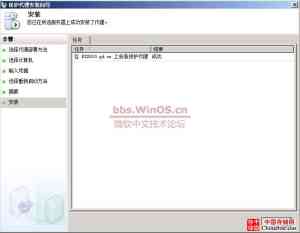
7.重启Exchange 服务器
第二部分 创建保护组
1.通过owa访问exchange,alice邮箱有一封邮件

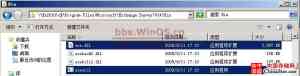
2.将exchange 服务器下的ese.dll和eseutil.exe复制到DPM服务器的目录下

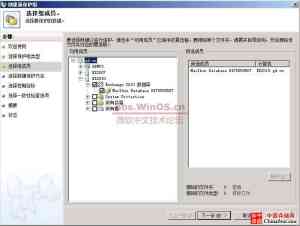
3.找开DPM 2010管理员控件台,选择保护,创建保护组,选择组的类型为服务器
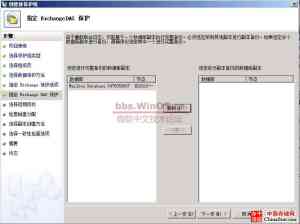
4.在选择组成员中只选择备份 Exchange 2010 数据库
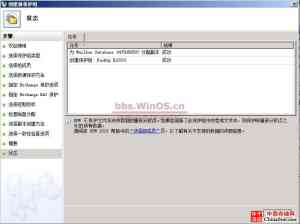
5.定义一个好记的保护组名称
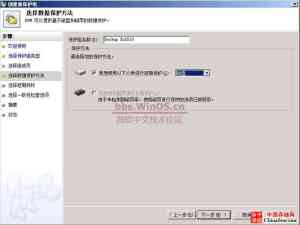
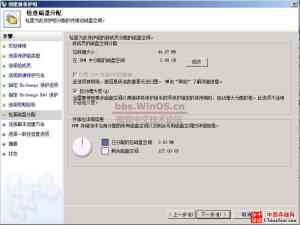
6.勾选运行eseutil以检查数据完整性

7.没有部署DAG,复制自然是点不了的
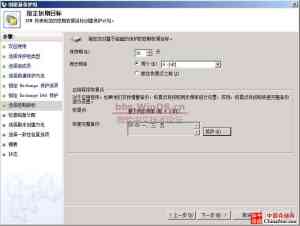
8.定义同步周期,我选择每四小时一次
9.磁盘分配
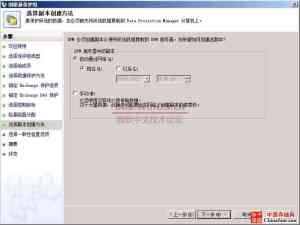
10.副本创建。我选择自动通过网络
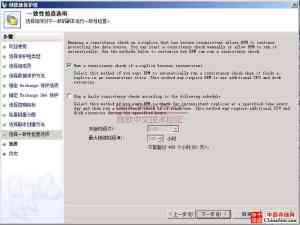
11.在一致性检查选项采用默认选项
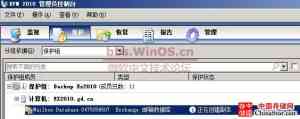
12.选择创建组,等待完成

13.从控制台中看到正在复制,副本创建的时间与数据库大小有关系
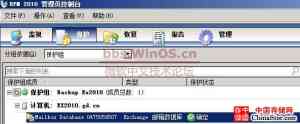
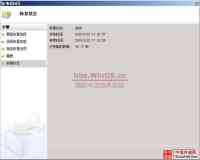
14.因测试的数据很小,一会就完成了,同时在监视里也看到复制完成.
| 第三部分 恢复测试 1.将邮箱数据库配置为还原时可覆盖此数据库 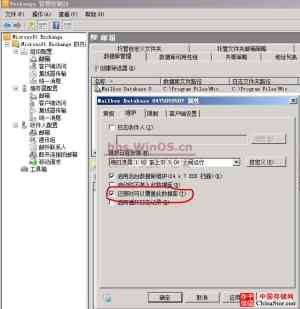
2.删除alice邮箱中的邮件,并从已删除中清空。 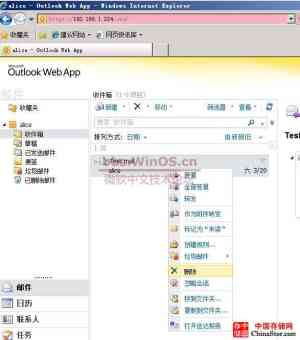
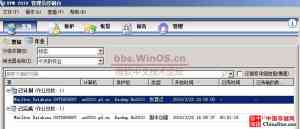
3.在DPM的恢复中,选中邮箱数据库,选择恢复 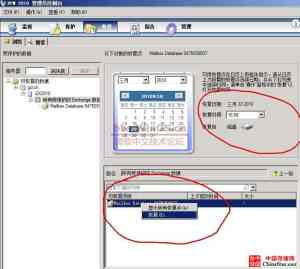
4.在复查恢复选择中可以看到相关的信息 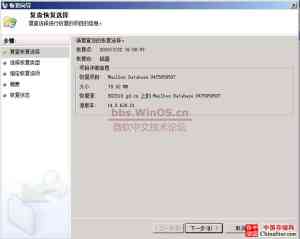
5.选择恢复到原Exchange Server 位置 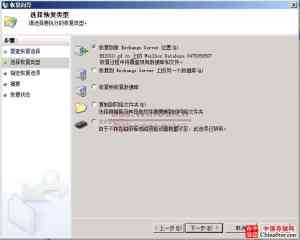
6.选择恢复后装入数据库 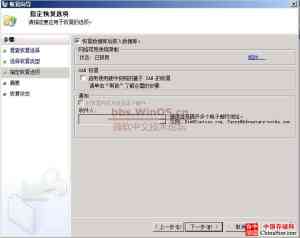
7.选择恢复,等侍完成 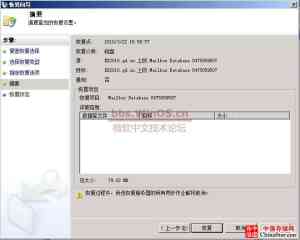
8.验证Exchange数据的恢复情况再次打开alice邮箱,恢复操作成功 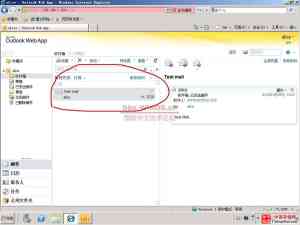
|