LANG=C
yum -y install gcc gcc-c++ autoconf libjpeg libjpeg-devel libpnglibpng-devel freetype freetype-devel libxml2 libxml2-devel zlibzlib-devel glibc glibc-devel glib2 glib2-devel bzip2 bzip2-develncurses ncurses-devel curl curl-devel e2fsprogs e2fsprogs-devel krb5krb5-devel libidn libidn-devel openssl openssl-devel openldapopenldap-devel nss_ldap openldap-clients openldap-servers
二、安装php和mysql
yum -y install php mysql mysql-server mysql-devel php-mysql php-cgi php-mbstring php-gd php-fastcgi
三、安装nginx
由于centos没有默认的nginx软件包,需要启用REHL的附件包
rpm -Uvh http://download.fedora.redhat.com/pub/epel/5/i386/epel-release-5-3.noarch.rpm
yum -y install nginx
设置开机启动
chkconfig nginx on
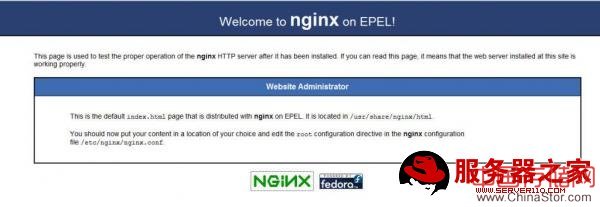
这时查看http://localhost, 可以看到如下的页面。

笔者在安装的时候,遇到了一点问题,出不来上面的页面。查看error.log,如下

在网络上搜索一下,发现是由于采用yum安装时, 它会自动的加上with-file-aio的选项。 但是我系统没有安装aio,所以重新下载了nginx的源代码包,重新安装就可以了。
四、安装spawn-fcgi来运行php-cgi
五、下载spawn-fcgi 的启动脚本
wget http://bash.cyberciti.biz/dl/419.sh.zip
unzip 419.sh.zip
mv 419.sh /etc/init.d/php_cgi
chmod +x /etc/init.d/php_cgi
启动php_cgi
/etc/init.d/php_cgi start
查看进程
netstat -tulpn | grep :9000
若出现如下代表一切正常
tcp 0 0 127.0.0.1:9000 0.0.0.0:* LISTEN 4352/php-cgi

server {
listen 80;
server_name _;
#charset koi8-r;
#access_log logs/host.access.log main;
location / {
root /usr/share/nginx/html;
index index.php index.html index.htm;
}
error_page 404 /404.html;
location = /404.html {
root /usr/share/nginx/html;
}
# redirect server error pages to the static page /50x.html
#
error_page 500 502 503 504 /50x.html;
location = /50x.html {
root /usr/share/nginx/html;
}
# proxy the PHP scripts to Apache listening on 127.0.0.1:80
#
#location ~ .php$ {
# proxy_pass http://127.0.0.1;
#}
# pass the PHP scripts to FastCGI server listening on 127.0.0.1:9000
#
location ~ .php$ {
root /usr/share/nginx/html;
fastcgi_pass 127.0.0.1:9000;
fastcgi_index index.php;
fastcgi_param SCRIPT_FILENAME /usr/share/nginx/html$fastcgi_script_name;
include fastcgi_params;
}
# deny access to .htaccess files, if Apache's document root
# concurs with nginx's one
#
location ~ /.ht {
deny all;
}
}
[...]
2、重启nginx
/etc/init.d/nginx restart
3、建立info.php文件
vi /usr/share/nginx/html/info.php
添加如下代码:
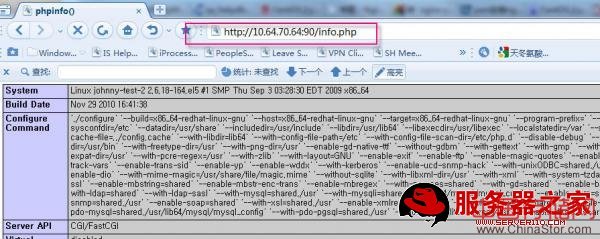
在浏览器打开测试是否正常,如http://10.64.70.64:90/info.php。(笔者使用了iptables来进行内外的转换,具体见(centos(4) iptables 构建局域网环境)

到此, nginx 加php fastcgi的安装就完成了。